You’ve chosen the perfect wallpaper — now comes the big question: do you roll up your sleeves and hang it yourself, or hire a professional to do it for you?
At Southern Highlands Painting and Wallpapering, we’ve seen both approaches deliver stunning results — and we’ve also seen them go wrong. DIY wallpapering can be satisfying and budget-friendly when done well, but it can just as easily lead to crooked seams, bubbles, and wasted materials. Professional installation offers precision, speed, and expertise, but comes with a higher price tag.
In this guide, you’ll find a clear, side-by-side comparison of DIY versus professional wallpapering. We’ll cover the costs, tools, time commitment, risks, and quality you can expect from each, so you can choose the option that best suits your skills, budget, and desired finish.
The Basics — What’s Involved in Wallpapering?
Whether you’re doing it yourself or hiring a professional, the wallpapering process follows the same core steps. Understanding these will help you see where the differences between DIY and professional work really matter.
- Wall Preparation
- Surfaces must be clean, dry, and smooth.
- Any holes, cracks, or uneven patches need to be filled and sanded.
- In some cases, a primer or lining paper is applied to create the ideal surface for adhesion.
- Measuring and Cutting
- Accurate measurements are essential to avoid gaps, pattern mismatches, or waste.
- For patterned wallpaper, matching the repeat correctly is crucial — this can be the trickiest part for first-timers.
- Applying Adhesive (if required)
- Some wallpapers are peel-and-stick with adhesive built in.
- Others need paste applied either to the wall (paste-the-wall) or to the back of the wallpaper (paste-the-paper).
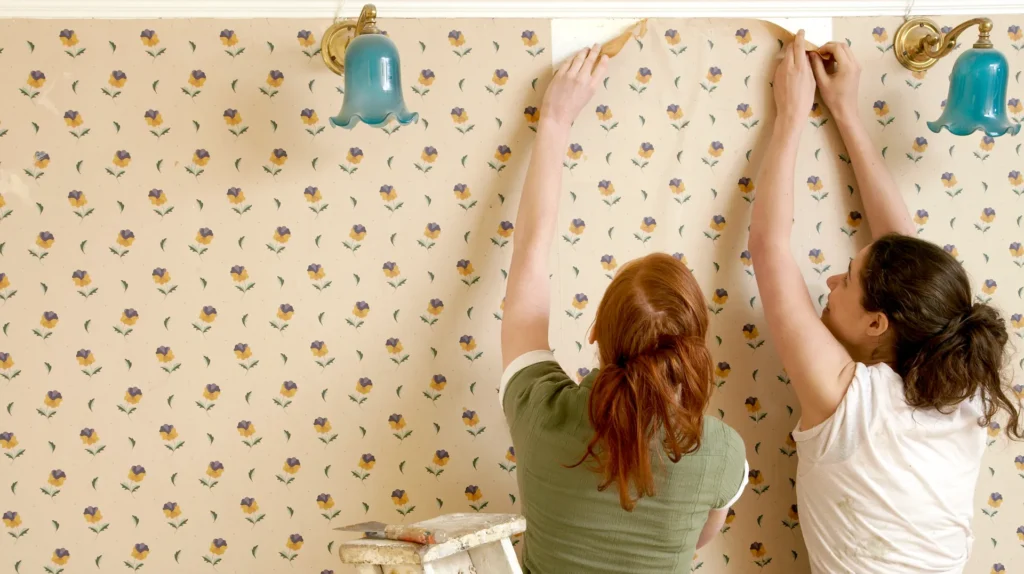
- Hanging the Wallpaper
- Aligning the first strip perfectly is critical — any mistakes here will be visible across the entire wall.
- Smoothing tools are used to remove bubbles and creases as you work down the wall.
- Trimming and Finishing
- Excess paper is trimmed at the top, bottom, and edges for a neat finish.
- Seams are checked to ensure they are tight and well-aligned.
No matter the method, wallpapering requires patience, precision, and a steady hand — the main difference between DIY and professional work lies in the consistency and speed of each step.
DIY Wallpapering — What to Expect
For many homeowners, the appeal of DIY wallpapering comes down to cost savings and the satisfaction of completing a project yourself. But before you dive in, it’s worth knowing exactly what’s involved.
Tools You’ll Need
- Tape measure and pencil
- Spirit level or plumb line
- Sharp utility knife or snap-off blade
- Smoothing brush or plastic smoother
- Wallpaper paste (if not using peel-and-stick)
- Paste brush or roller
- Step ladder
- Sponge and clean cloth for wiping away excess paste
Skill Level Required
Wallpapering is a skill that takes practice. Beginners often find the first strip the most challenging, as this sets the alignment for the whole wall. Matching patterns and avoiding bubbles can be tricky without experience.
Typical Costs and Time Investment
- Materials: Wallpaper prices range from $150-300 per roll in Australia, depending on the quality and design.
- Tools: Around $100–$200 for basic equipment if you don’t already have it.
- Time: A feature wall may take 3–5 hours for a beginner; a full room can stretch to a full day or more.
Common Mistakes and How to Avoid Them
- Crooked first strip: Use a plumb line to ensure perfect vertical alignment from the start.
- Visible seams: Butt edges tightly without overlapping; take care when trimming.
- Air bubbles: Smooth from the centre outwards as you apply each strip.
- Pattern mismatch: Double-check pattern repeats before cutting and hanging.
DIY wallpapering can be rewarding for those with patience, a steady hand, and a willingness to learn. However, mistakes can be costly — both in wasted materials and in the time it takes to fix them.
Professional Wallpapering — What to Expect
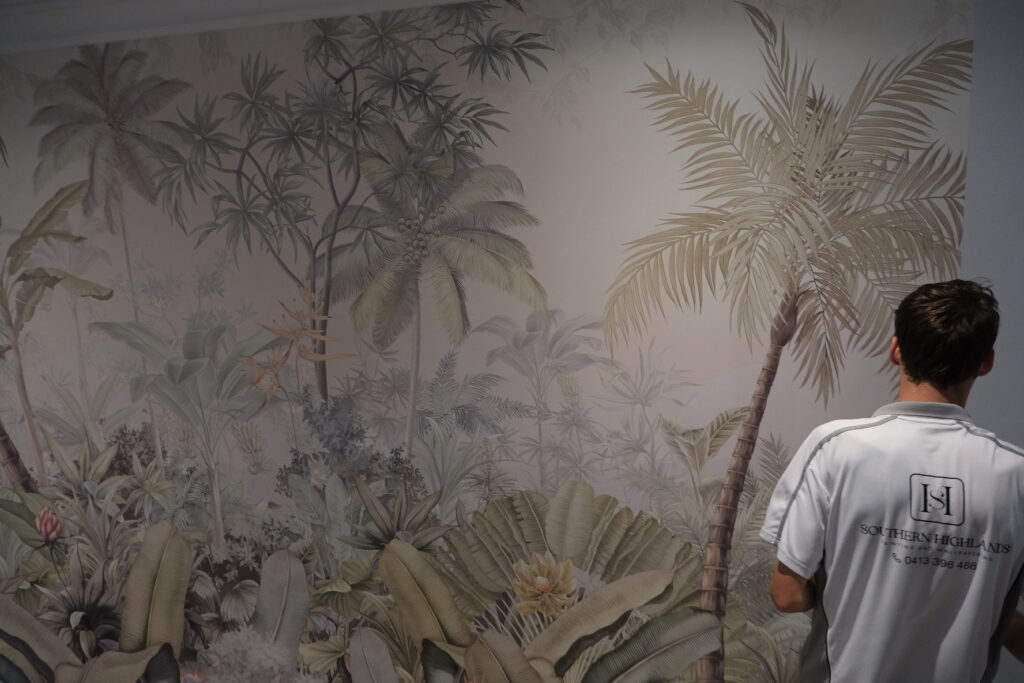
Hiring a professional takes much of the stress and uncertainty out of wallpapering. At Southern Highlands Painting and Wallpapering, our team handles every stage of the process, ensuring a flawless finish that’s built to last.
What a Professional Does Differently
- Precision preparation: Walls are thoroughly checked, filled, and sanded to create an even surface.
- Expert alignment: The first strip is positioned with exact measurements to ensure perfect vertical and horizontal alignment across the entire wall.
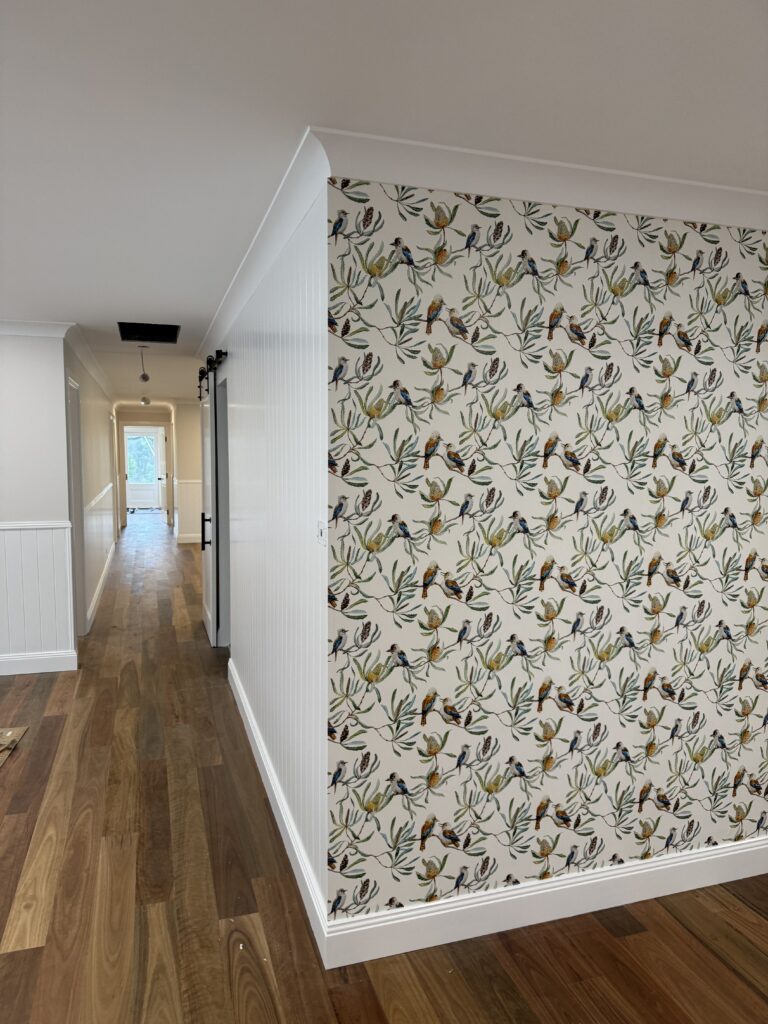
- Pattern matching: Complex repeats, murals, and multi-roll designs are matched seamlessly.
- Clean application: Tools and techniques are used to minimise mess, avoid bubbles, and create invisible seams.
- Finishing touches: Edges are trimmed with accuracy, and the final surface is inspected to ensure a consistent look.
Cost of Hiring a Professional in Australia
- Installation costs typically range from $150–$300 per m², depending on wall condition, wallpaper type, and complexity of the design.
- High-end or textured wallpapers, such as grasscloth or flocked finishes, can be more expensive to install due to the extra care required.
How Long It Takes
- A single feature wall can often be completed in 2–3 hours.
- A full room is usually finished within a day, depending on the number of walls and the complexity of the pattern.
Benefits Beyond the Finish
- Time savings: Professionals can complete in hours what might take a DIYer a full weekend.
- Reduced waste: Experience means fewer mistakes and less material wasted.
- Durability: Proper installation helps wallpaper last longer without peeling or lifting.
- Peace of mind: Work is often guaranteed, so you’re protected if issues arise later.
While professional installation is more expensive upfront, it delivers a polished result and removes the uncertainty of tackling the project yourself.
Side-by-Side Comparison — DIY vs Professional
| Factor | DIY Wallpapering | Professional Wallpapering |
| Cost | Lower upfront cost — just materials and tools. Expect $30–$90 per roll plus $100–$200 for tools. | Higher upfront cost — $150–$300 per m² for installation, plus the cost of materials. |
| Time Commitment | A feature wall: 3–5 hours; full room: a day or more for beginners. | A feature wall: 2–3 hours; full room: usually completed in one day. |
| Skill Level | Requires patience and a steady hand. Steeper learning curve for complex patterns. | High skill level from years of experience. Complex designs handled with ease. |
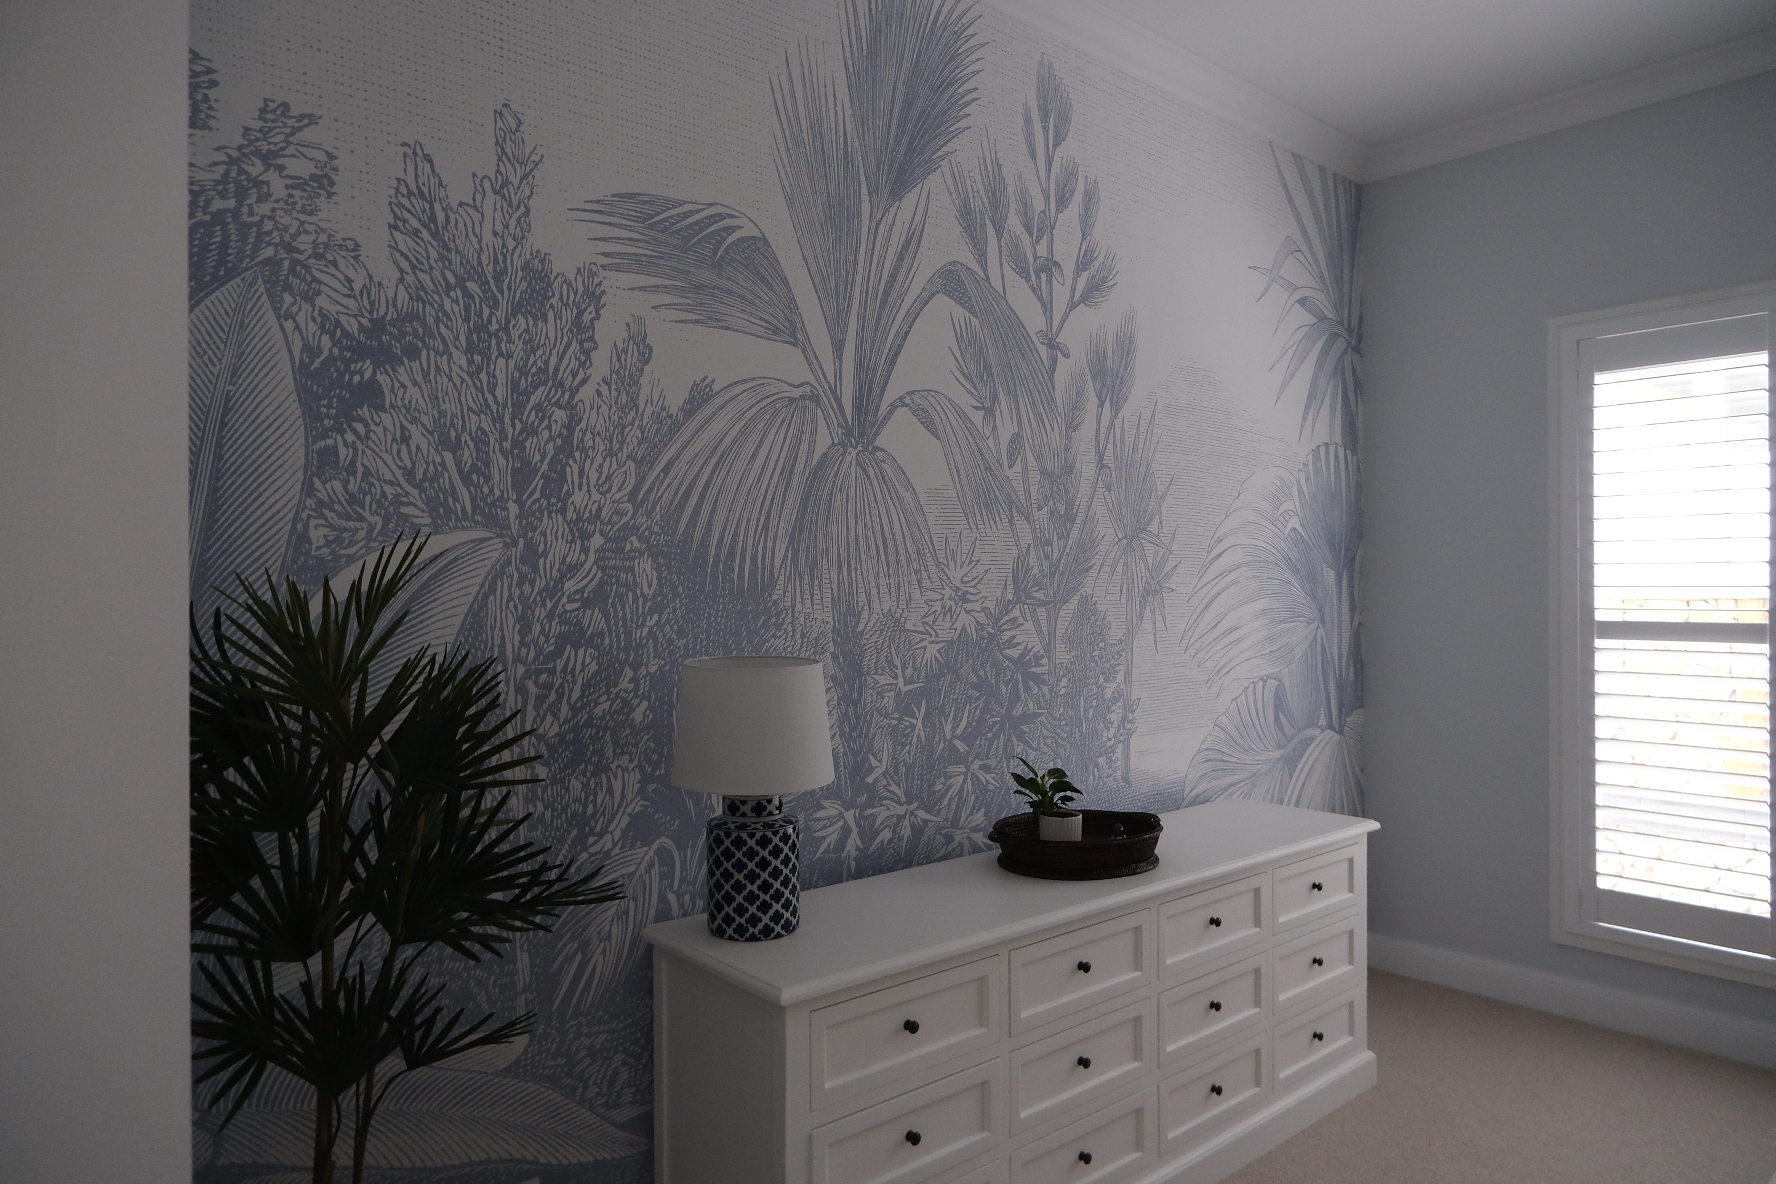
| Quality of Finish | Can look great with care, but seams, bubbles, or misalignment are more likely. | Consistent, flawless finish with invisible seams and precise pattern matching. |
| Risk of Mistakes | Higher — mistakes can lead to wasted rolls, extra cost, and time lost redoing work. | Minimal — professionals have systems in place to prevent costly errors. |
| Durability | Lifespan may be reduced if installation is imperfect or walls weren’t prepared properly. | Maximum lifespan due to proper preparation and application techniques. |
Takeaway:
- DIY is ideal for smaller projects, simpler patterns, or when budget is the main concern.
Professional is the better choice for expensive wallpaper, large rooms, or intricate designs where precision is essential.
When to Choose DIY
DIY wallpapering can be a smart choice when the project is manageable, the design is forgiving, and you’re willing to invest the time to get it right.
Best scenarios for DIY:
- Feature walls in smaller rooms: Easier to manage and less intimidating for beginners.
- Simple patterns or solid colours: Fewer alignment issues and less chance of noticeable mistakes.
- Budget-conscious projects: Saves on labour costs, especially for short-term décor updates.
- Removable or peel-and-stick wallpaper: Great for renters or temporary designs, and easier to reposition if needed.
- If you enjoy hands-on projects: Ideal for those who like the satisfaction of completing a home improvement task themselves.
Pros recap:
- Lower cost than hiring a professional
- Flexibility to work at your own pace
- A sense of personal achievement
Cons recap:
- Steeper learning curve, especially for complex patterns
- Higher risk of visible imperfections
- More time-consuming for beginners
If you’re prepared to take your time, plan carefully, and start small, DIY wallpapering can deliver great results — and a real sense of pride in the finished room.
When to Hire a Professional
Professional wallpapering is worth the investment when precision, speed, and a flawless finish are your top priorities. At Southern Highlands Painting and Wallpapering, we see the difference every day — the right tools, preparation, and expertise can transform the end result.
Best scenarios for hiring a professional:
- Large or complex rooms: Multiple corners, alcoves, or sloped ceilings can make DIY work much harder.
- Intricate patterns or murals: Complex repeats and custom designs require precise matching.
- Expensive or delicate wallpaper: Materials like grasscloth, flocked finishes, or metallic papers need special handling.
- High-profile spaces: Living rooms, entryways, or commercial spaces where appearance matters most.
- Time-sensitive projects: When you need the work completed quickly and to a high standard.
Pros recap:
- Flawless, professional-grade finish
- Faster completion with minimal disruption
- Lower risk of material waste
- Expertise with challenging materials and spaces
Cons recap:
- Higher upfront cost than DIY
- Requires scheduling around availability
If the wallpaper is a long-term investment or the space demands perfection, a professional installer ensures the best possible outcome — and peace of mind that the job will last for years.
Final Thoughts — How to Make the Right Choice
Deciding between wallpapering yourself and hiring a professional comes down to balancing cost, time, skill, and the level of finish you want.
If you’re working with a simple design, have the time to learn, and want to save on labour costs, DIY wallpapering can be a rewarding and budget-friendly option. Start small, prepare carefully, and allow extra rolls for mistakes.
If your wallpaper is expensive, the design is complex, or the space is high-profile, professional installation from a trusted local team like Southern Highlands Painting and Wallpapering ensures a flawless result, quicker turnaround, and maximum durability.
Quick decision guide:
- Choose DIY for smaller projects, peel-and-stick wallpapers, or when budget is tight.
- Choose professional for intricate patterns, large spaces, or premium finishes.
Whichever you choose, preparation is key — smooth, clean, well-primed walls will help your wallpaper look better and last longer, no matter who hangs it.